Open Your Confirmation Email Locate the email you received after purchasing your ticket.
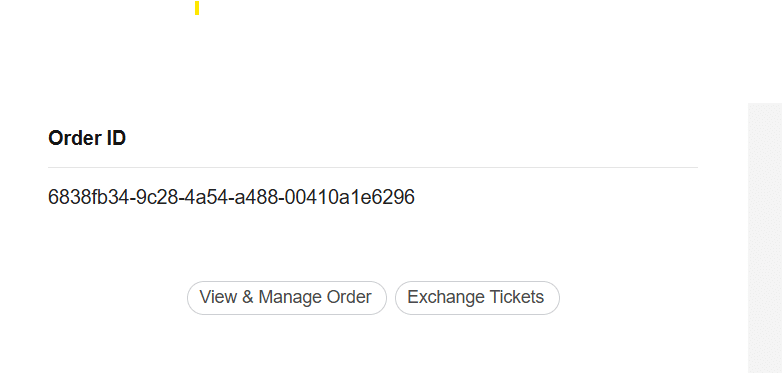
Click on “Exchange Tickets” About halfway down the email, you’ll find a button labeled “Exchange Tickets”. Click it to begin the process.
Access Your Tickets You’ll be directed to a page displaying your tickets. Scroll down to view them.
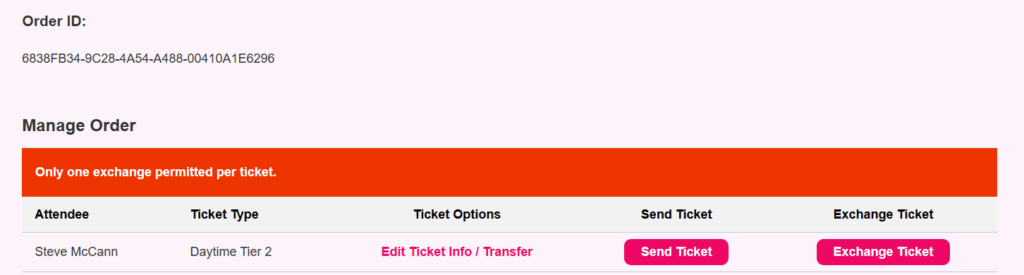
Initiate the Exchange Click the red “Exchange Ticket” button next to the ticket you wish to modify.
Choose Your New Ticket Select the new ticket type or time slot that suits your needs.
Confirm and Pay (if applicable) If there’s a price difference, you’ll be prompted to pay the additional amount. Confirm your selection to complete the exchange.
Important Information
One Exchange Per Ticket: Each ticket can only be exchanged once.
No Account Needed: You don’t need to create an account to exchange your ticket.
Real-Time Updates: Your new ticket will be sent to your email immediately after the exchange.